
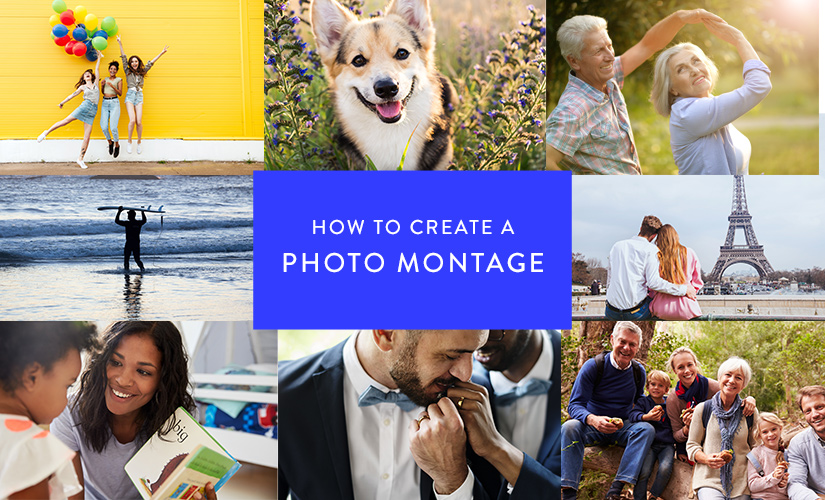
With the rise of the selfie, we have more and more holiday snaps, photos of days out, and pictures of ourselves in general. This is great for creating picture collages and products which will preserve your memories for years to come.
At Bags of Love, we know how tricky it can be to choose which of your brilliant memories is your favorite. Rather than just picking one, wouldn’t it be nice if you could choose a handful? Well, with our online design tool, you can! See how to make a photo collage using a number of pictures (dependant on the product you have chosen) in a few simple steps.

To show you how easy it is to do, we have put together this handy guide! See what you’ll need to do, how many images you can put on which kind of products, and learn how to make a photo collage.
Step 1 – Choose your product
You can select from our huge range of products to make a photo collage. You do need to bear in mind the size of the product and the number of photos you want to put on it. Fewer photos are better for smaller products so that you can see them more clearly. For this example, we will be designing the photo blanket. Once you have chosen your product, simply click “Start Design”.

Step 2 – Upload and choose your photos
Once you have selected your product options, either click the ‘Add Images/Text’ button on the product preview or select the ‘Images & Text Tools’ tab. Once the below window is open, click on ‘Select Images to Upload’. This will allow you to browse your files and select what you want to upload. If you’d prefer, you can also take pictures directly from your Facebook or Instagram too.
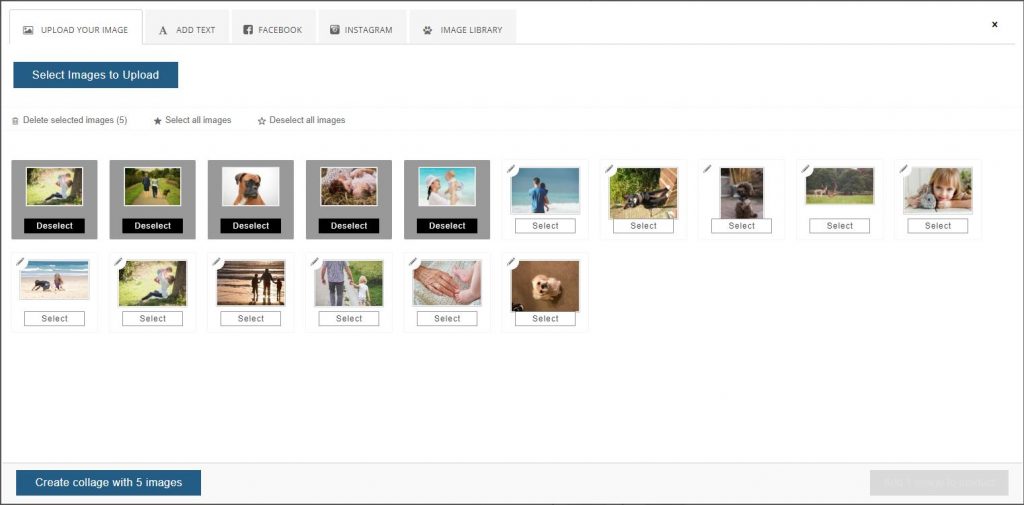
Once you have uploaded your images, you need to select the ones that you want to use. If our system picks up any problems with your photo file size, it will show you a warning. When you have selected the photos you would like to use, click on this button:

Step 3a – How to Make a Photo Collage with Templates
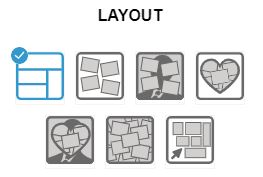
There are a number of pre-set options that you can use for your photo collage, or you can try our Smart Collage tool. This new tool generates a collage for you that’s completely customizable.
You have complete control over your images placement, position, zoom, order, and size. Double click on an image to zoom in, and from there, you can position each photo to your liking.
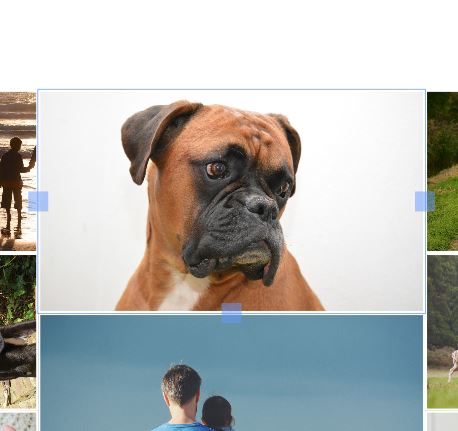
Try the ‘mix it up’ button for even more possibilities!

If you’re more into a pre-set template, we’ve done all the hard work for you. Choose from 5 different pre-set designs and watch your collage come to life!
First up, there’s our classic Plain (No Background) collage:

Then, we have a our Photo Frame collage for a bit more color:
This will lay your photos out at a jaunty angle, in a grid. The ‘no background’ option will have a white background, but you can choose a solid color background as well. The ‘photo frame’ option will display a slightly unfocused copy of one of your images as the background – great for making sure the colors match your theme!
Next up are our heart collages, perfect to design a gift for the one you love. You can choose from our Plain Heart (No Background):

Or opt for the Frame Heart with a blurred photo in the background:

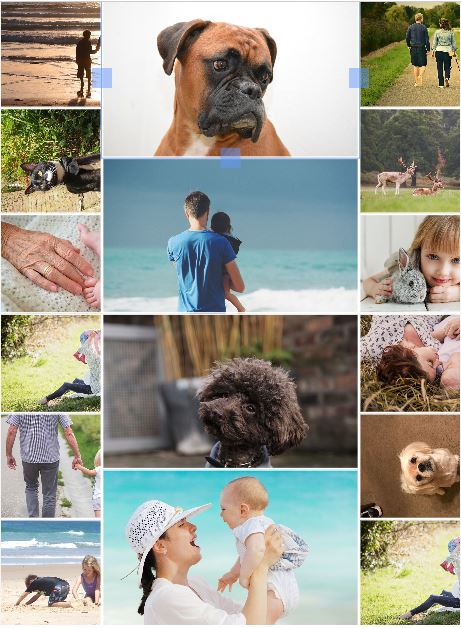
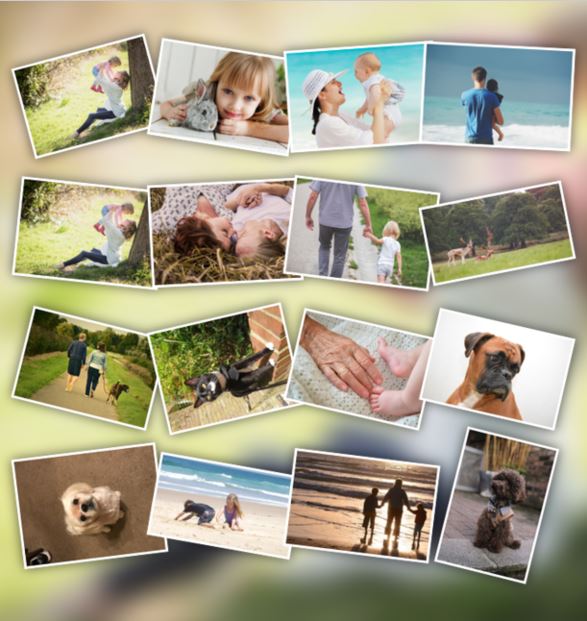
Looking for photos, photos, and more photos? Our Scatter option will cover the entire area with your photos:

It sometimes repeats images, and sometimes misses them, depending on how many you choose. This will be explained to you before you add the collage to your product or design. You will receive a warning message, which will tell you exactly how many images are missing/repeated. It’ll also explain how to remedy this. The scatter photo collage idea is great if you won’t want to have any background at all in your design.

If you’re using one of the pre-set photo montage templates to design your own photo collage, and you don’t like the order, you can press the ‘mix it up’ button to rearrange your photos, just like with the smart collage tool!
Once you are happy with your photo collage, simply click add to design and it will be added to the product that you have selected.

Step 3b – How to Make a Photo Montage by Hand

If you decide to use the ‘do it yourself’ option, then you will see a screen that looks similar to this. It will display your photos on a “pile” and you will be able to rearrange them once you add them to your design.

Once you have added the images to your design you simply click and drag to move your images around. You will be given a list of your images, the ones at the top will sit on the top, so you can rearrange the layers as required.
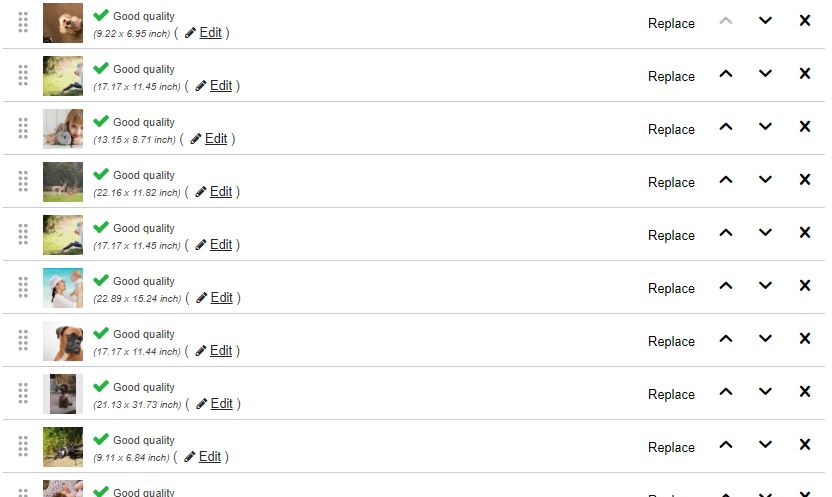
If there is an issue with any of your images, our design tool will show you. It does this by putting an orange exclamation mark on the personalized area that has the problem. If you select that area, you will be given a list of layers.
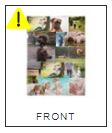
Our design tool will tell you which image the issue is with. You will get a green tick which says good quality if your image is fine. Or you will have that same orange exclamation mark if there is a low-quality image. From here you can try resizing, changing or removing the image until the system tells you that it is a good quality image.


Things to Note
The more images that you select, the smaller each image will be, whereas fewer images will give you much more clarity and detail.

You can also save the image to your computer by right-clicking and selecting ‘Save As’. This will download a .png file to your computer that you can view, and print for free!

Step 4 – Finalize your Order
Once you have finished your photo collage, all that’s left to do is preview and buy your product. Just confirm the quantity and price, and then click the ‘preview and buy’ button.

Before you are taken to checkout, you will be shown all sides of your design to check that you are happy with it. Simply proceed to the cart and place your order if you’re happy with it. If you aren’t, you have the option here to go back and edit it.
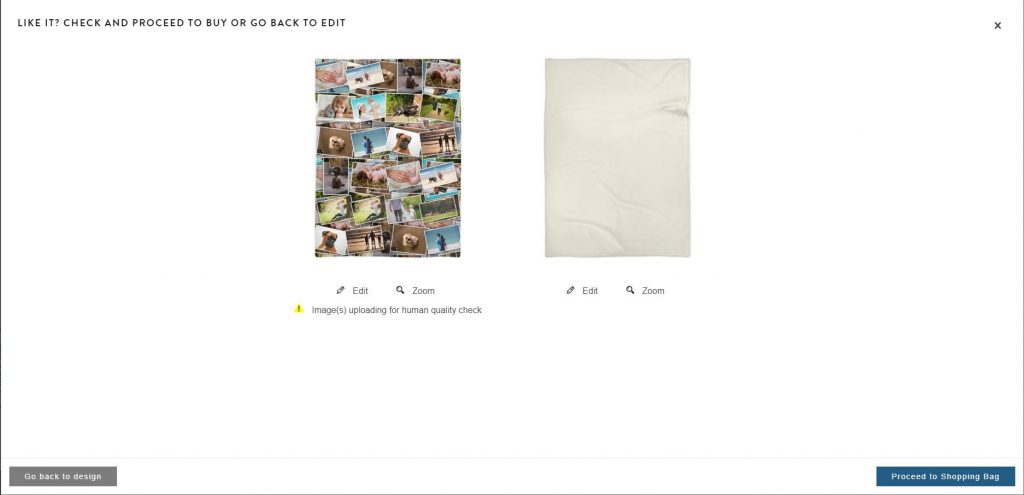
If any of your images flagged the image quality warning but appeared fine to you, you will be notified here. Your design will be sent to our expert customer service team. They will look at your images, and if they have any concerns they will contact you to discuss this.

Check out our video tutorial on how to make your own photo collage below, where we offer a step-by-step guide of this process:
How to Make Your Own Photo Collage
You can make a photo collage on any of our products. Why don’t you check it out? Once you have made your beautiful picture collage, all that is left to do is to preview and buy. Our amazing technicians turn this around in only a few days so it won’t be long before you can make a loved one – or yourself – very happy.

