How to Make a Pencil Case at Home
If you’re just starting out in arts & crafts or simply want a fun activity for the weekend, then this sewing tutorial is for you. Dust off the old sewing machine, or beg your neighbour to borrow theirs, and learn how to make a pencil case. This simple and easy-to-follow tutorial is perfect if you’re looking for a cool and unique way to tidy your stationery. But this isn’t just for pens. Makeup brushes, toiletries and random odds and ends can all be stored neatly in their very own case.
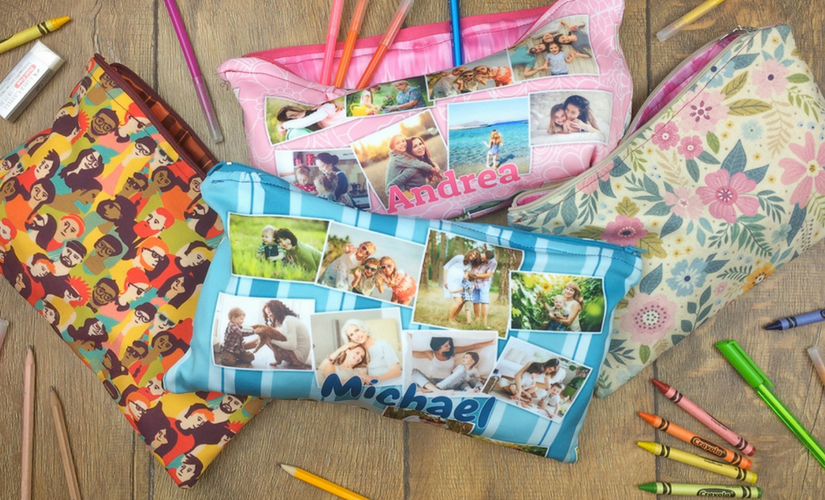
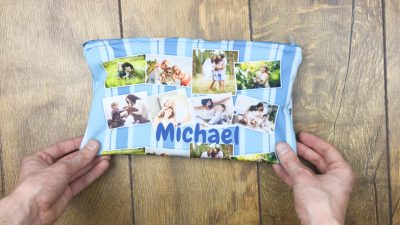
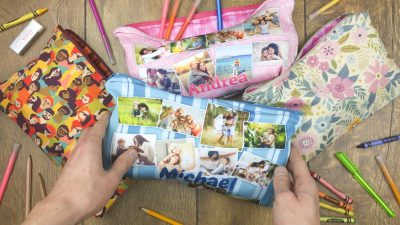
To make a DIY pencil case sewing even more special, you can design your own custom fabric here. Print your child’s name and their favourite cartoon character or family photos for a fun school accessory. You could even use vintage inspired patterns or your favourite artwork – it’s entirely up to you! I recommend using fabrics that have flexibility, so you’re not limited with your contents. In our example, we’ve used Scuba, a heavyweight stretchy Lycra that is thick, strong and supportive. This results in a contemporary DIY pencil case sewing project, however, you could use organic cotton canvas for something a little more traditional.
Step by Step Guide on How to Make a Pencil Case
You will need:
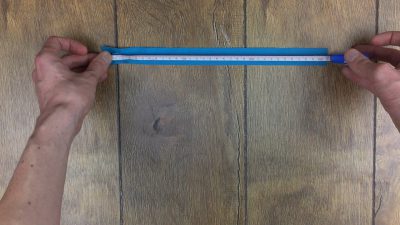
- A 28cm zipper
- 2x 30cm rectangles of printed outer fabric (we’ve used Scuba)
- 2x 30cm rectangles of lining fabric
- Scissors
- Thread
- Stretch needle
- A Sewing machine with a zipper foot (comes included in most models)
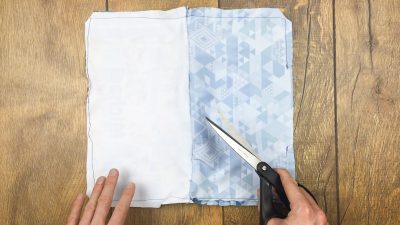
Step 1
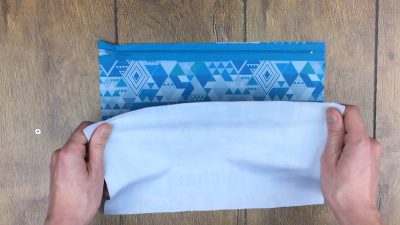
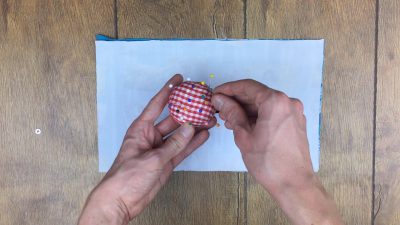
Lay out your first piece of lining fabric FACE UP. Place your zipper on top, with the zip on the LEFT hand side. Align it with the top edge of your fabric. Place your outer fabric FACE DOWN on top to create a sandwich.
Step 2
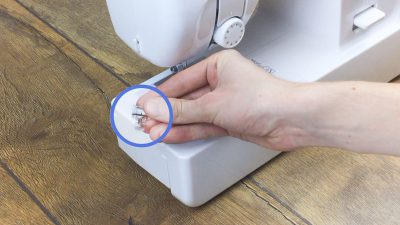
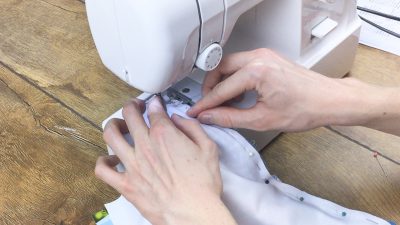
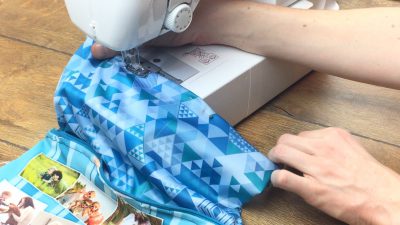
Place pins along the top edge to hold your sandwich in place. Now install your zipper foot. To do this, lift the foot of your sewing machine and remove the standard foot. Replace with the zipper foot. This will make it easier to sew a nice, straight line close to your zipper.
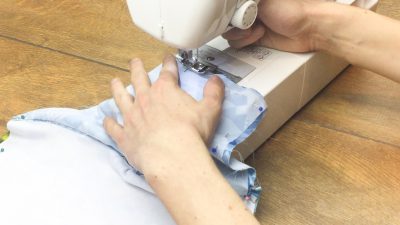
Step 3
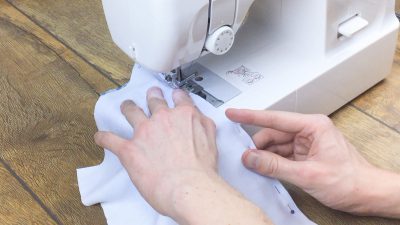
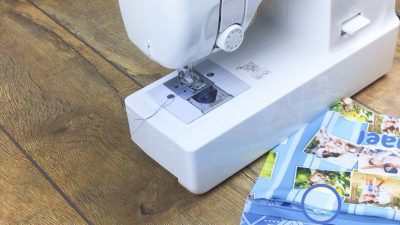
Undo the zip before you start sewing and pull the zip down a few cm. This will make it easier to sew around it, as you will see! Start sewing along the line of the zipper. Once you’ve sewed down to where the zip pull is, stop but keep your needle in the fabric. Move the zip back to the top as though you’re closing it and continue sewing unimpeded!
Sew down to the end of the zip – go slowly and neatly! Close your threads, trim and open out your sandwich. Fold so that the zipper is on top and the printed side of your outer fabric is facing up.
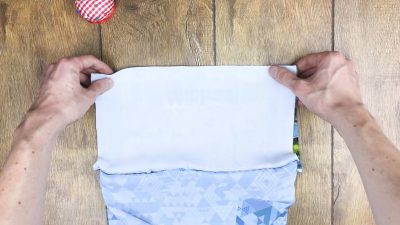
Step 4
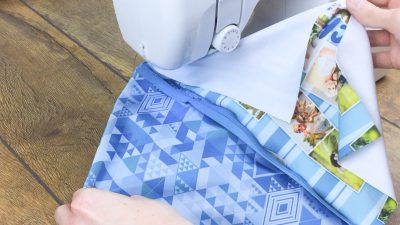
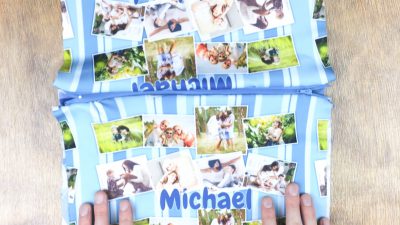
Now create your second sandwich. Place your lining fabric FACE UP and place your first sandwich with the printed outer fabric facing up too. Make sure that the zipper is ON TOP and on the RIGHT hand side. Place your second outer fabric rectangle FACE DOWN on top. Align along the top edge as before and pin in place. Sew along the edge of the zipper, the same as previously. Repeat the technique of moving the zipper down to sew around it and sew to the end.
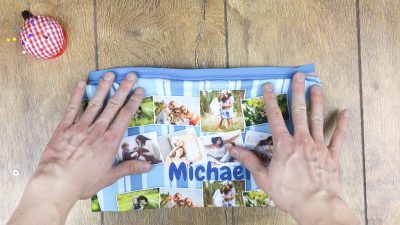
Step 5
Open out your installed zipper! You now should have a pretty good idea of how your finished DIY pencil case sewing will look. Lay it all out flat so the printed faces of both lining and outer fabric show OUTWARDS and your zip is ON TOP. Then, press flat with an iron. However always remember to test a sample of your fabric before ironing, and follow care instructions!
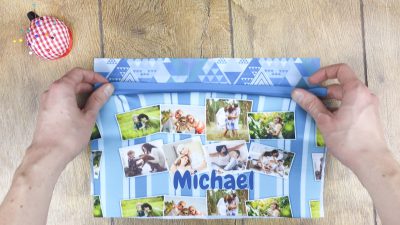
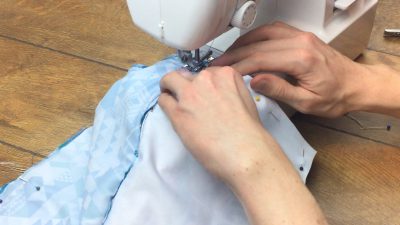
Step 6
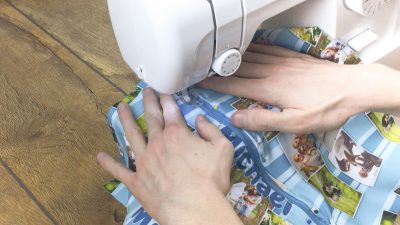
Pull outwards away from the zip to the edges of your fabric, maintaining tension. Now sew a top stitch along the edges of your zip, as well as a line of stitching 1cm away from the zip, along both sides. You can vary your stitch style, or use a coloured thread for a more decorative approach.
Step 7
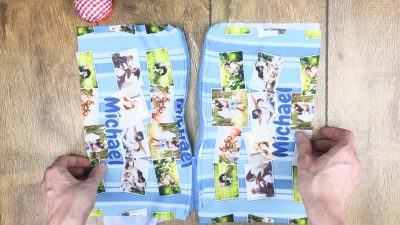
Right, this is very Important! Open your zip – if you don’t you’ll find it hard to reverse your fabric in the next section! Place your outer fabrics together, so that they face each other. Do the same for your lining, and lie flat with the zipper hidden inside. Point the fabric ends of the zip towards the lining side, as this will hide the edges at the final stage of making your case, giving you a nice, clean finish. Pin in place on both ends.
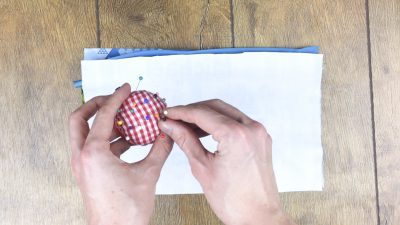
Step 8
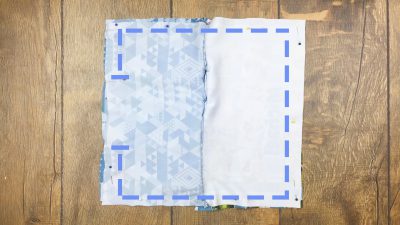
Now pin around the rest of your edges. With an 8mm seam allowance, sew around the edge of your fabric pencil case, starting from your lining side. When you get to a corner, insert your needle, lift the foot, and pivot the fabric. Take care to avoid sewing over the metal edges of your zip. It might help to go slow over these sections.
Step 9
Continue sewing the edges of your pencil case, remembering to leave a gap in the bottom edge of your lining, wide enough to get your hand in. When you’re done sewing, clip the corners to trim down bulk.
Step 10
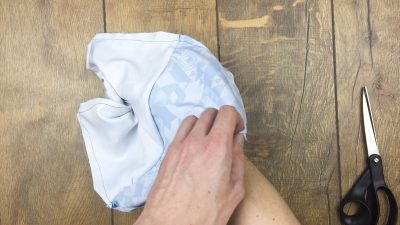

Now invert your pencil case. To do this, reach through the gap in your lining and grasp the interior of the printed Outer Fabric, as though you’re changing a duvet cover. Pull through firmly. Using a pencil or chopstick, push out your corners to create sharp, defined corners. Fold the opening in your lining flat and close with a top stitch.
Your home-made pencil case is finished!
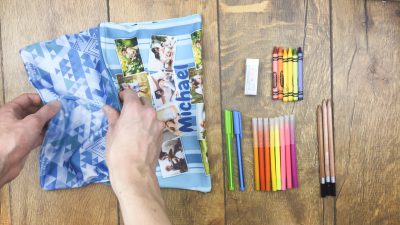
Finally, push your lining back into your outer layer, close your zip and admire your completed fabric pencil case!
Et voila! How easy was that? Once you know how to make a pencil case, you can give your children, friends and family a unique gift for them to keep all their bits and bobs tidy. Click the banner below to design your own custom fabric and make your sewing projects totally unique.